

I absolutely love how this Board and Batten Accent Wall turned out! Believe it or not this was my very first time creating an accent wall, and my 11 year old helped me the entire way through! He had so much fun, that in the middle of the process he said, “Mom, we should do this as a business!” It melted my little heart, especially because I had no clue what I was doing! This is his room, and he helped me pick the color, the style of wood, and helped me get everything at the store that we needed. He was an amazing helper, and I’m proud of he and I for this finished project!
I researched high and low to find the simplest way to create an incredible accent wall using board and batten and I will put all the information I found out, and just how we did it below! It was surprisingly not as difficult as I thought it would be!
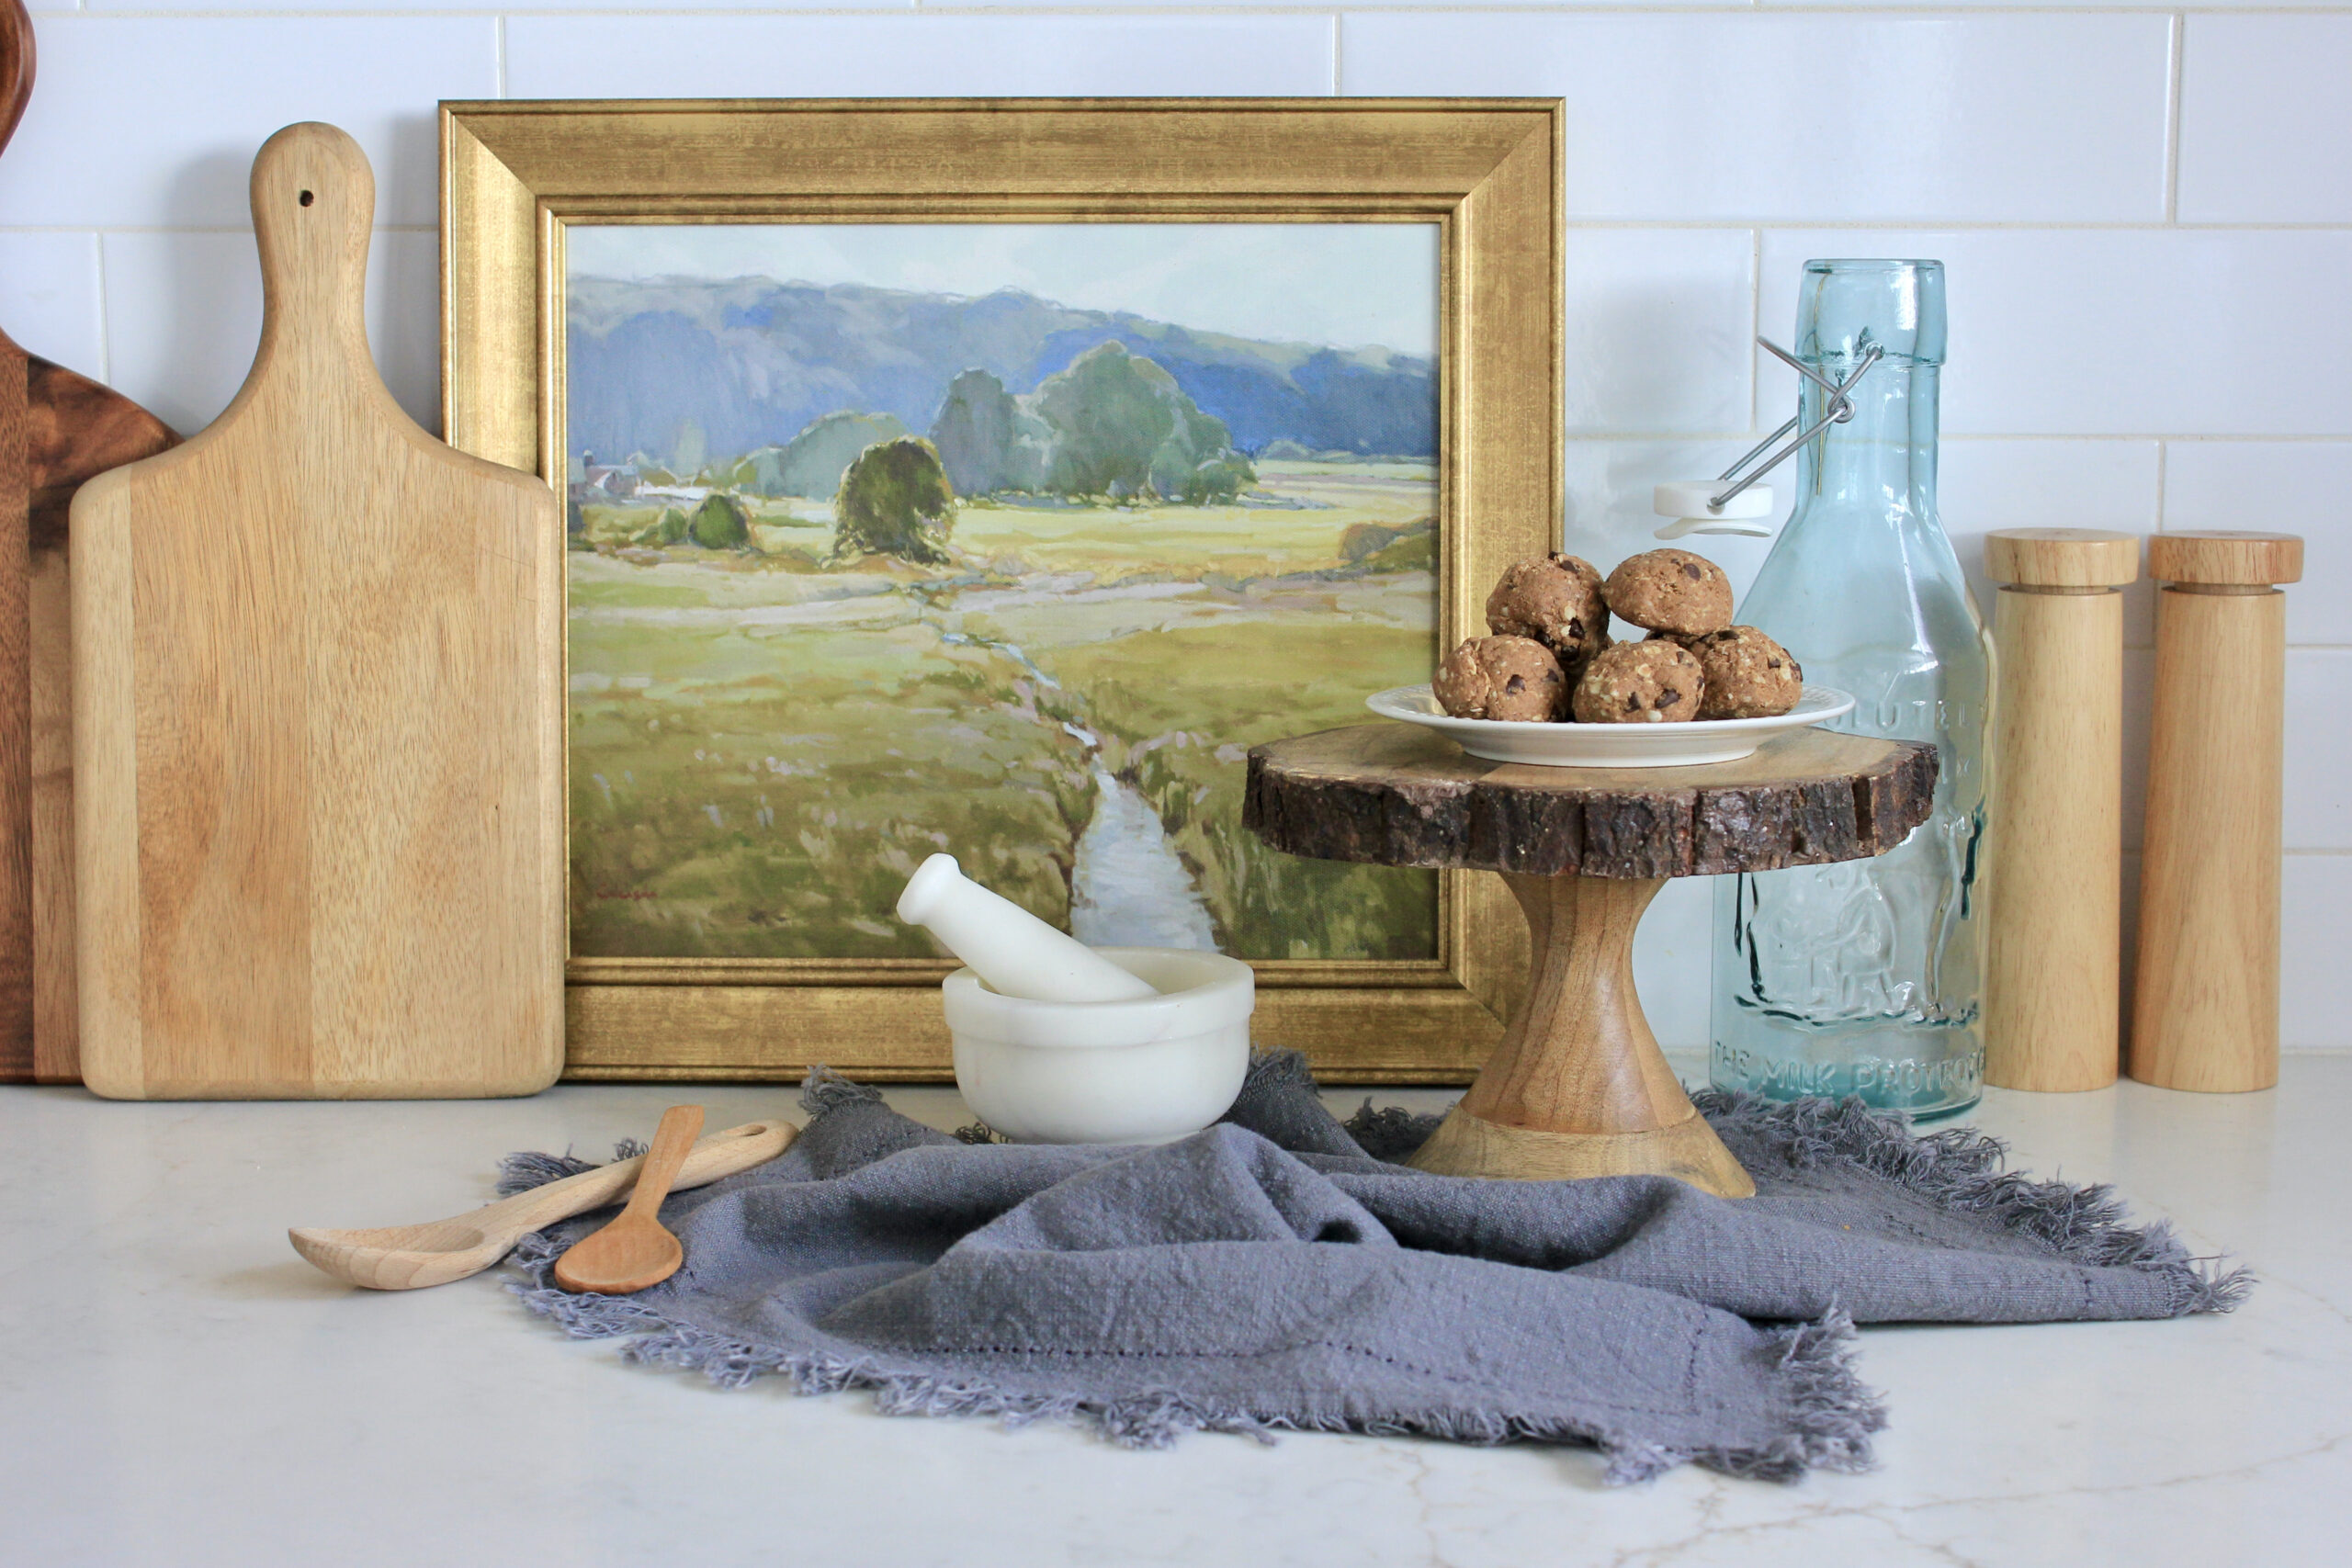
I will also link the beautiful battery powered wall sconces, the art frame, and some similar decor pieces to what we have in this photo, down at the bottom of this post!

To Begin:
1. Measure your wall: Start by measuring the height and width of your desired accent wall. This will help determine how many pieces of wood you will need for the vertical boards, and the length for the horizontal top board. We kept our original baseboards, so all we needed was the horizontal batten board which was a little wider than the vertical siding boards, and the 8 siding boards.
2. Choose your materials: Select the type of MDF panels/wood boards/moulding you want to use for the horizontal batten on top, and the vertical siding boards below. There are many different styles/widths and options you can choose from. We found ours at home depot. We measured our wall, and the width between each vertical board. We knew that we would need to cut 8 vertical strips to the height we chose, and get the top horizontal board cut to the length of the wall. (Your measurments for your wall may be different from ours. Find a height you like for the vertical and make sure the horizontal board is cut exactly to the length of the wall.) We also chose pre-primed wood, so once it was installed, all you need to do is paint it, it makes the process easier.
3. Prep the wall: Clean the wall surface and fill any holes or cracks.
4. Install the board and batten: We used liquid nails on the back of all the vertical boards and the one horizontal board. Make sure as you glue the boards, you use a level on either side of the board, to ensure it is glued perfectly straight. Allow about 45 minutes to an hour for the glue to dry. Use a nail gun and nails to install the glued boards into the wall. (We borrowed our neighors nail gun, so if you don’t have one try and borrow one or rent one from your local hardware store. Or you can purchase regular nails and use a hammer, whichever is easiest for you.) Make sure you install the nails deep enough so they do not extend out of the wood.
5. Use Fast Dry Latex Caulk Plus Silicone with the caulking gun to caulk around each edge of the panels and wood pieces. I swiped my finger along the caulk to create a smooth surface around each piece of wood. Allow time to dry.
6. Fill nail holes and seams: Fill any exposed nail holes or seams with wood filler. My favorite kind is linked below! Use a small spackle tool/putty knife to apply the filler, allow time to dry.
7. Sand: Sand the wood filler until all the wood panels are straight and smooth.

Painting an accent wall can be a simple and affordable way to add dimension and personality to whichever room you are working on. Here’s how we did it:
1. Choose your color – Select a color that complements the other walls and furnishings in the room. I recommend going to your local hardware store and grabbing a handful of your favorite paint swatches. Tape them up to your wall and take away the ones you don’t absolutely love until you are left with your favorite color. Be sure to look at the swatch on the wall with different lighting, to make sure it’s the color you love the most.
2. Gather your supplies – Purchase paint, rollers, brushes, drop cloth, and painter’s tape.
3. Apply painter’s tape – Tape off all areas surrounding the wall you are painting.
4. Paint the wall – Paint two coats of paint on the wall to ensure even coverage.
5. Remove tape – Once the paint has dried, carefully remove the painter’s tape.
6. Enjoy your new accent wall – Stand back and admire the work you’ve done to create your new accent wall!
By following these simple steps, you can easily create a beautiful and unique accent wall you will love, in any room of your home. Get creative with different styles of wood or different paint colors, and enjoy the process!

Me and my son picked this gorgeous paint together! The color is:
Norwegian Blue by Dynasty Marquee
It is a one coat paint, but because we aren’t professional painters we did do a second coat, to make sure we had even coverage. We found this paint at Lowe’s and the man at the counter was able to help me decide just how much paint I’d need for the measurements of our accent wall. Your measurements will be different, but just know the people at the counter have a wealth of knowledge in this arena and they will help you determine just how much paint you will need! Be sure to know your measurements before going to purchase the paint.
Sharing the exact products we used to create our accent wall below:
We used liquid nails and a caulking gun to glue the back of the wood pieces onto the wall. Once they were dry we used Fast Dry Latex Caulk Plus Silicone with the caulking gun to caulk around each edge of the panels and wood pieces. We used Dewalt Nails 1-1/2 length and our neighbors nail gun to nail the pieces, where they were glued to the wall, into place. We used Plastic Wood, an all purpose wood filler with DryDex dry time and a small spackle tool to fill in any gaps between the wood. Then we sanded it down till it was smooth and straight! I’ll add these products below, making them easy to find!

I’ll share the links to some of our favorite decor pieces in his room below! My favorite purchase of them all are the battery powered wall sconces! They are amazing and add such an elevated touch to the space! Some of these aren’t the exact items, but they are pretty close to what we have here!

I have some big goals for more home projects and I would love for you to follow along in this journey!
I would love to hear your thoughts on our finished Board and Batten Project! So be sure to leave me a comment, like, or send me an email!
You can find me on Instagram at livingsimplybykalani, on Tiktok at Kalani Bryson, and on Pinterest at Living Simply by Kalani! Follow back for more of home decor posts in the future!